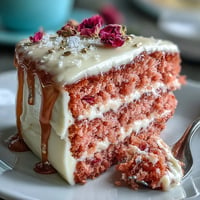
 Save
Save There was a crackle of laughter in my kitchen the first time I set out to make this Rosé Velvet Cake—a project inspired more by the pastel swirls of spring than any formal occasion. The scent of rosé warming in the batter mingled with vanilla, a thrillingly grown-up twist to a childhood favorite. On that particular day, I'd just polished off an invigorating phone call with friends planning a bridal shower, and this cake seemed like the perfect centerpiece. The lingering aroma promised celebration even before it hit the oven. Little did I know, the gold drip would end up everywhere, including my elbows.
The bridal shower day itself felt alive with fresh flowers and sparkling rosé flute towers as I sliced into this stunning showstopper. I remember the moment everyone gasped at that first shimmering slice, then nudged in for seconds, frosting mustaches and all.
Ingredients
- All-purpose flour: Gives the cake structure; measure carefully for fluffy layers.
- Cornstarch: Lightens the cake's texture so it practically melts in your mouth.
- Unsweetened cocoa powder: Just enough for a gentle cocoa note without overwhelming the rosé.
- Baking soda: Provides lift and ensures the cake rises tall.
- Salt: Balances the sweetness—don't skip it, even in dessert.
- Unsalted butter: Use room temperature butter for creaming; cold butter will leave lumps.
- Granulated sugar: Creates a fine, even crumb while sweetening the batter perfectly.
- Light brown sugar: Adds subtle caramel depth to complement the fruity wine.
- Large eggs: Bring the eggs to room temperature so they incorporate smoothly.
- Rosé wine: Choose a fragrant, fruity rosé for best flavor.
- Buttermilk: The acidity makes for exceptionally tender layers.
- Vanilla extract: Rounds everything out with gentle warmth.
- Pink gel food coloring (optional): A touch will give you picture-perfect pastel cake; just go slow.
- Cream cheese: Must be softened for ultra-smooth, tangy frosting—avoid the light version for best texture.
- Confectioners’ sugar: Sift first for lump-free, cloud-like icing.
- White chocolate chips: Melts beautifully for the drip—use real cocoa butter if you can find it.
- Heavy cream: Adds richness to the white chocolate drip.
- Edible gold luster dust: For that magical finishing touch.
- Clear vodka or lemon extract: Thins the luster dust into brushable gold paint—vodka evaporates fastest.
Tired of Takeout? 🥡
Get 10 meals you can make faster than delivery arrives. Seriously.
One email. No spam. Unsubscribe anytime.
Instructions
- Prep the pans:
- Turn the oven to 350°F and cut parchment to neatly fit three 8-inch pans while you grease every edge—trust me, it makes all the difference for flawless layers.
- Mix dry ingredients:
- Inhale the gentle chocolate aroma as you whisk flour, cornstarch, cocoa, baking soda, and salt together until perfectly blended.
- Cream butter & sugars:
- Let your mixer run until the mixture turns almost white and airy, scraping down occasionally so you catch every pocket of sweet butteriness.
- Add eggs & vanilla:
- Crack in the eggs one by one, letting them disappear into the batter before pouring in a splash of vanilla—the mixture should look glossy by now.
- Combine rosé and buttermilk:
- Watching the wine swirl into the creamy buttermilk is a swoon-worthy moment—it's the secret to flavor and tenderness here.
- Alternate dry and wet:
- On low speed, add dry and wet in turns, starting and ending with the flour mix; a gentle pink hue will emerge as you swirl in the coloring.
- Fill & bake:
- Divide that gorgeous batter evenly among pans, smoothing the tops before sliding them into the oven—the scent will fill the kitchen in no time.
- Cool completely:
- Let cakes rest in their pans 10 minutes, then move them to racks to cool—the wait is hard but prevents a sticky mess.
- Make the frosting:
- Cream the softened cheese and butter together, then add sugar, vanilla, and salt, and beat until you have a cloud of pillowy icing.
- Assemble the layers:
- Frost generously between the cooled layers, then cloak the entire cake—let it chill 30 minutes so the next step goes smoothly.
- Gold drip magic:
- Gently melt chocolate chips and cream, cool a bit, then drip with a spoon along the cake's edge, watching rivulets trickle before popping it in the fridge to set.
- Paint the gold:
- Mix luster dust with vodka or lemon extract and, with a tiny brush, paint each set drip until the cake positively glows.
- Decorate & serve:
- Finish with edible flowers or gold leaf if desired, and present with a flourish—this is a cake made for toasting.
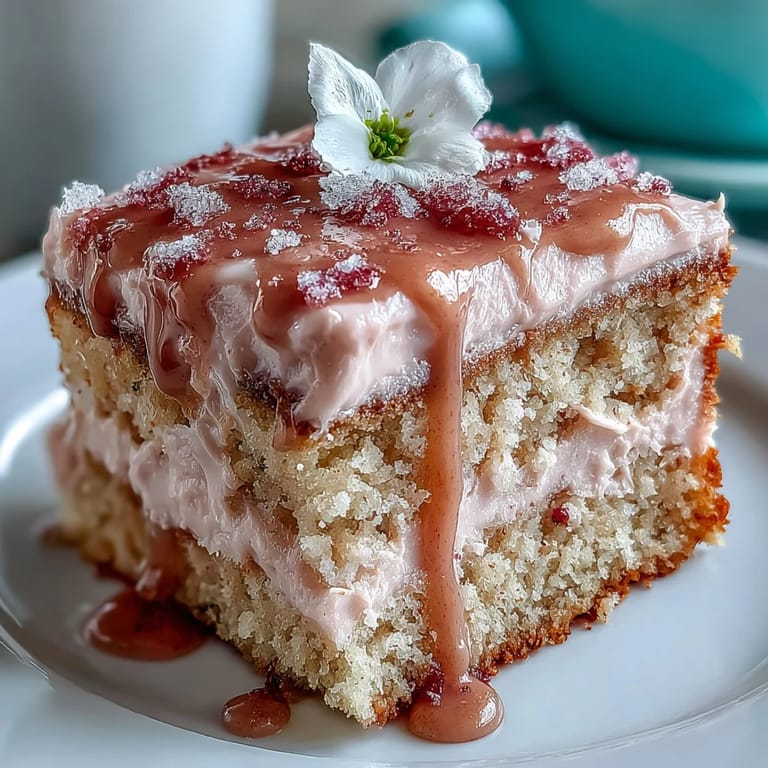
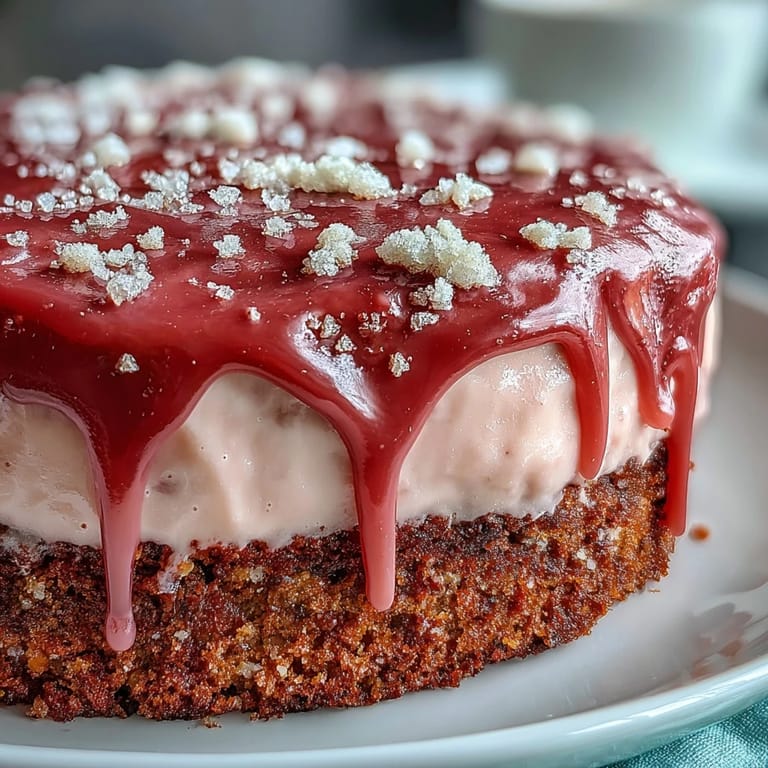 Save
Save 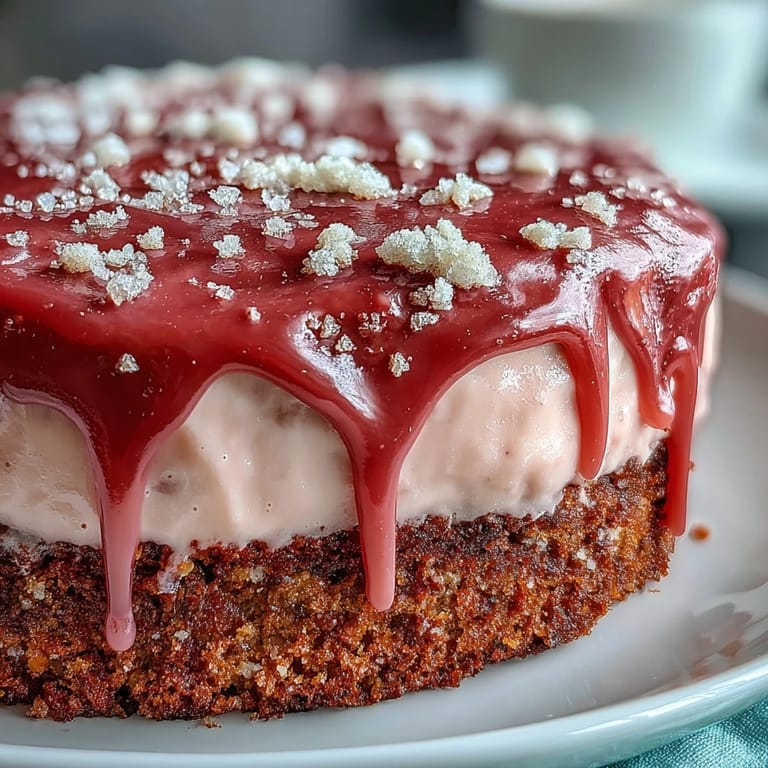 Save
Save Late that afternoon, I found myself lingering in the kitchen long after the party, fork in hand and laughter still echoing, realizing that sometimes a cake really does make the moment memorable.
Secrets Behind That Showstopping Gold Drip
The first time I tried brushing on the gold, I used too much liquid and it pooled—less is more for a bright finish that won’t run. Rushing the chilling step also leaves a streaky mess, so patience is your best assistant. I like to listen for the soft crack as each chocolate drip sets, knowing that’s when to start painting.
Choosing the Perfect Rosé for Baking
I’ve found fruity, crisp rosé works best—the kind you’d happily sip. Wines that are too sweet can overpower, while drier options leave a light floral note that lingers without being cloying. If in doubt, taste a little before adding it to the batter to ensure it isn’t too acidic or heavily oaked.
Keeping Layers Tender and Instaworthy
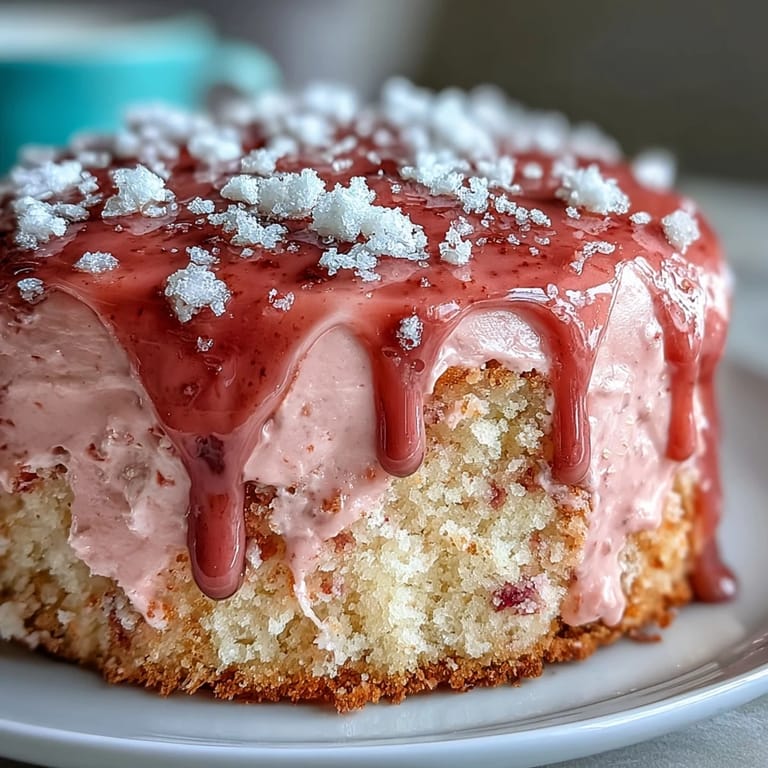
Getting all three cake layers even is easier if you weigh out the batter rather than eyeball it. Don’t skip the parchment circles or you may end up with torn edges and crumbled corners. Cooling the cakes fully before assembly keeps the frosting plush and prevents slippery slides.
- If making ahead, store the unfrosted cakes tightly wrapped in plastic and frost the day of.
- For the neatest slices, run a warm blade through water before cutting.
- Always keep extra edible gold dust on hand—accidents (or overenthusiastic decorators) happen!
 Save
Save  Save
Save However you decorate or serve it, this is a cake built for clinking glasses and joyful, messy memories.
Questions & Answers
- → Can I omit the rosé without losing flavor?
Yes. Substitute equal parts pink grape juice or sparkling cider to keep a fruity note and maintain batter hydration; reduce added liquid slightly if using very sweet juices.
- → How do I prevent the layers from crumbling when frosting?
Cool layers completely, trim domes flat, apply a thin crumb coat, chill until firm, then finish with the final frosting layer for a smooth surface.
- → What’s the best way to get an even gold drip?
Chill the set white chocolate ganache before painting. Apply ganache drips with a spoon or piping bag, return to chill, then mix gold luster dust with a few drops of vodka or lemon extract and brush on gently.
- → How can I adjust sweetness in the frosting?
Reduce confectioners’ sugar slightly and increase the cream cheese or butter for tang and structure. Taste as you go to reach the desired balance without losing spreadability.
- → Can I add fresh fruit or flowers as decoration?
Yes. Top with fresh berries or edible flowers for color and contrast; add them after the gold has set to avoid staining and to preserve delicate blooms.
- → How should leftovers be stored?
Cover and refrigerate up to 3–4 days. Bring slices to near room temperature before serving for the best texture and flavor.