 Save
Save My cousin's graduation party was supposed to be small until word got out, and suddenly I was staring at a kitchen counter wondering how to feed thirty people with actual dessert instead of a sad sheet cake on a table. That's when the dessert board idea hit me like a lightbulb moment—not because I'd seen it on Pinterest, but because I remembered my grandmother always said the prettiest food tastes better, even if it's exactly the same brownie you've eaten a hundred times. The board became less about stress and more about creating something that felt celebratory without requiring me to bake six different cakes.
What I didn't expect was watching my uncle—the guy who claims he doesn't eat sweets—make three trips back to the board, each time in a different corner, like he was on a flavor expedition. My aunt stood beside it taking photos for forty minutes, and honestly that might have been the real victory because the food looked that good. That's when I realized a dessert board isn't just about feeding people; it's about giving them permission to enjoy something without guilt or rushed timing.
Ingredients
- Mini brownies (12 pieces): Buy from a good bakery if you can because homemade quality matters when everything else is pre-assembled, and they anchor the board with rich chocolate presence.
- Mini lemon bars (12 pieces): These provide bright, acidic contrast that cuts through richness and stops the board from feeling one-note and heavy.
- Chocolate truffles (12 pieces): Fancy enough to feel special but small enough that people actually eat them instead of just looking and walking away.
- Mini fruit tarts (12 pieces): The delicate, pretty component that makes the whole board feel intentional rather than randomly thrown together.
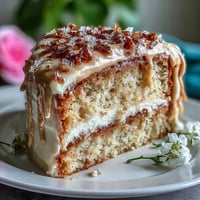
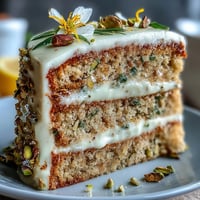
- Sheet cake sliced thin (12 pieces): Choose flavors you genuinely love because these are your anchor pieces and they set the tone for the entire board.
- Strawberries (1 cup halved), blueberries (1 cup), raspberries (1 cup), and seedless grapes (1 cup): Fresh fruit does the heavy lifting of color and provides textural relief from all the rich, dense treats.
- Assorted macarons (1/2 cup), mini meringues (1/2 cup), and chocolate-covered pretzels (1/2 cup): These fill gaps, add unexpected flavor combinations, and make the board feel abundant without breaking your budget.
- Edible flowers and fresh mint: These are the finishing touches that transform a nice spread into something that photographs like a dream and smells incredible.
Tired of Takeout? 🥡
Get 10 meals you can make faster than delivery arrives. Seriously.
One email. No spam. Unsubscribe anytime.
Instructions
- Choose your surface with intention:
- A wooden board feels warmth-appropriate and naturally festive, but a marble platter leans elegant, and a large ceramic tray works if that's what you have. The material matters less than having enough actual space to breathe between items.
- Create structure with cake slices:
- Arrange them in a fan or semi-circle because straight lines make food look sterile, and the slight curve guides the eye around the board like a visual pathway. This also anchors the entire composition so everything else feels intentional rather than random.
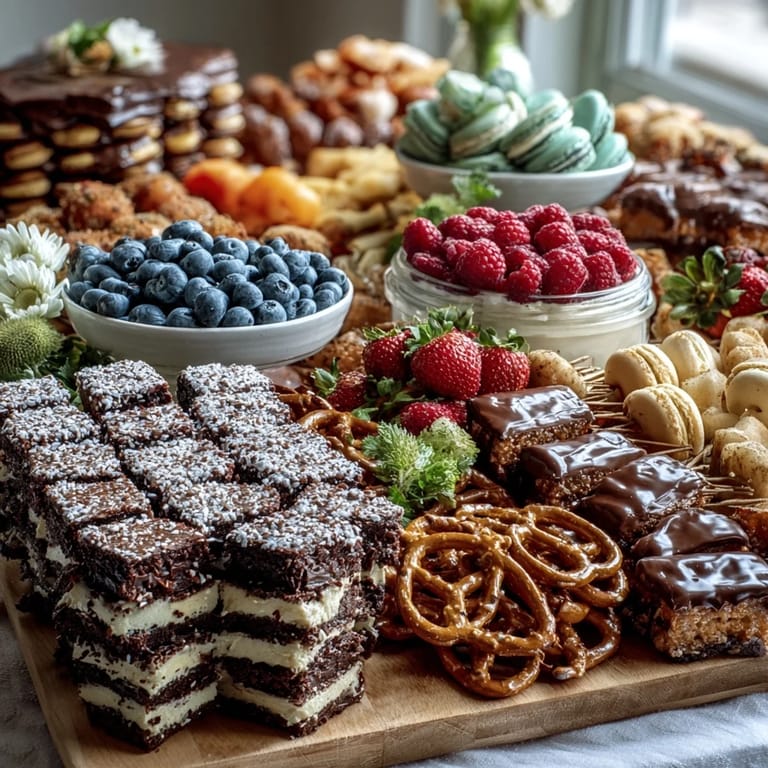
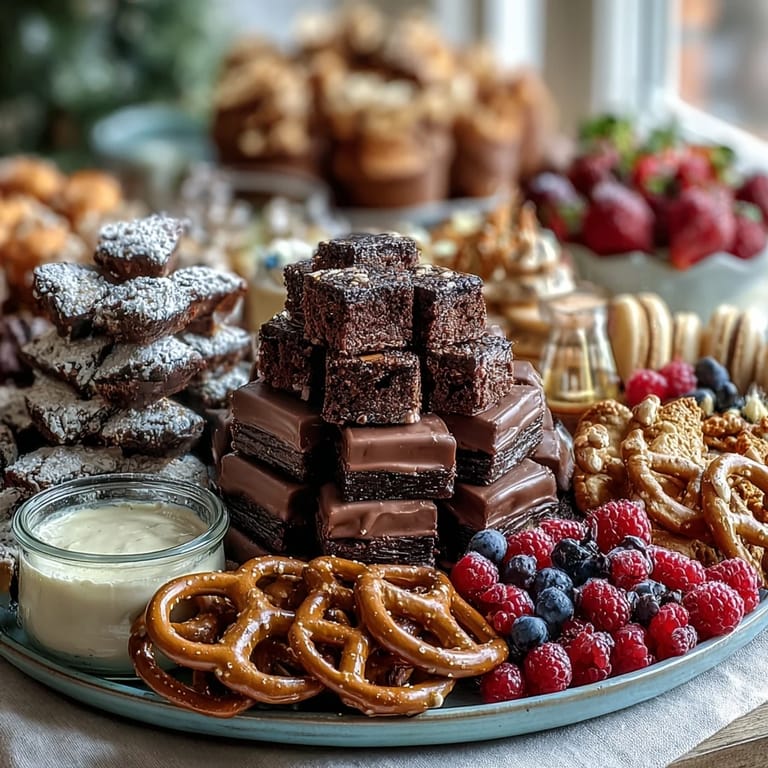
- Build clusters, not rows:
- Group your mini treats in small piles by type—brownies together, lemon bars together, macarons together—because this creates visual rhythm and makes it easier for guests to grab what appeals to them. Think landscape painting, not checkerboard.
- Fill the gaps with berries:
- Scatter fresh fruit strategically to break up dense chocolate areas and add jewel-tone color that catches light beautifully. Avoid perfectly even distribution; clusters and drifts look more organic and appetizing.
- Add texture with surprises:
- Scatter meringues, chocolate-covered pretzels, and extra macarons in unexpected spots because these textural contrasts make people want to explore the whole board instead of just grabbing one thing. The crunch factor matters.
- Finish with flourish:
- Tuck mint sprigs throughout and scatter edible flowers if using them, adding height variation and fragrance that makes the whole experience feel special the moment people approach. This step takes two minutes and changes everything.
- Time the reveal:
- Set the board out twenty minutes before guests arrive so everything reaches room temperature and flavors come alive fully. If you're prepping ahead, cover loosely with parchment and refrigerate, but never longer than four hours or berries start weeping.
 Save
Save The moment I realized this was more than just logistics was when my grad stood in front of the board for a photo before eating anything, smiling in a way that made the whole chaotic preparation worth it. That picture became their graduation memory more than the actual party, and that's when food stopped being fuel and became something that mattered.
How to Choose Your Treats Strategically
Don't just grab whatever looks pretty at the bakery because balance is what makes this board actually work. You want roughly equal amounts of rich, fruity, and surprising so the flavors build and surprise as people make their way around instead of hitting chocolate fatigue by the second visit. I learned this by loading the board with mostly chocolate treats and watching people get overwhelmed halfway through, switching to fruit and coffee after the second truffle.
Making It Personal for Your Celebration
The best boards tell a story about the person being celebrated, which means thinking about their actual preferences instead of just what looks good. If your grad hates dark chocolate, focus on vanilla, citrus, and white chocolate instead; if they're a fruit person, load it with berries and tarts and keep the heavy treats minimal. I've made three of these now, and the ones that felt truly special were the ones that reflected the actual tastes of the people eating them.
Serving and Storage Tips
Set out small tongs or spoons because people are surprisingly polite about not touching things with their bare hands once you give them permission to use utensils. Any leftover treats can be stored in an airtight container for three days, though realistically the berries will be gone first and the meringues will last forever. The real secret is arranging this board last thing before guests arrive because assembled beauty has a shelf life, and fresh-looking treats encourage people to actually eat and enjoy instead of just admiring.
- Cover with loose parchment if prepping ahead, letting it breathe rather than trapping moisture.
- Group allergen-heavy items clearly if you have guests with restrictions, making it easy for them to navigate confidently.
- Keep coffee, sparkling water, and lemonade nearby because contrast in drinks makes the dessert experience feel more thoughtful and balanced.
 Save
Save This dessert board became my go-to move because it takes the pressure off perfect baking while still delivering something that feels special and intentional. Now whenever someone celebrates something worth celebrating, I know exactly how to make them feel like the occasion matters.
Questions & Answers
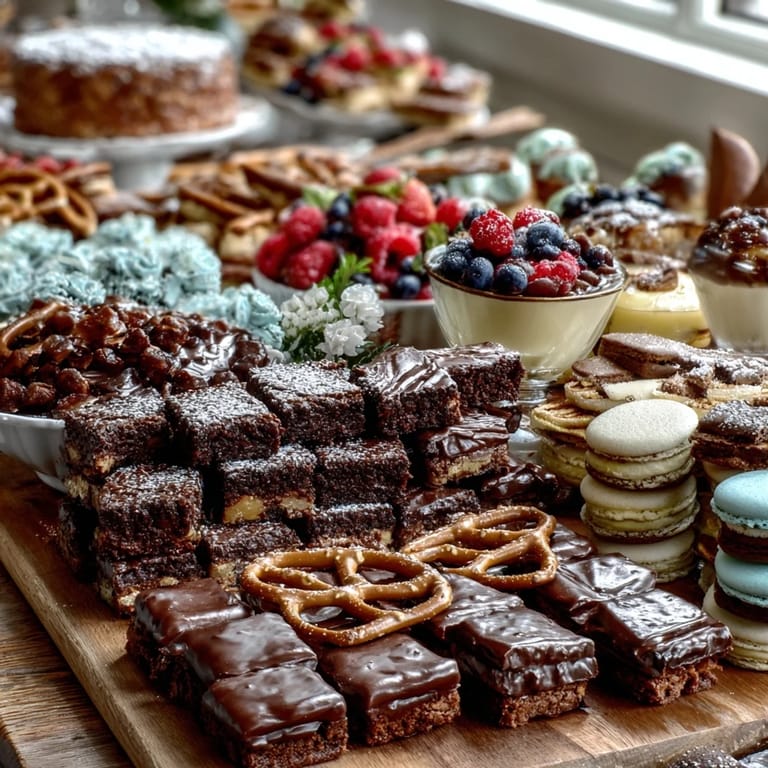
- → What treats are included on the dessert board?
The board features mini brownies, lemon bars, chocolate truffles, and fruit tarts arranged alongside cake slices.
- → How should I arrange the items for best visual appeal?
Place cake slices in a semi-circle and arrange mini treats in colorful clusters around them, filling gaps with fresh berries and garnishes.
- → Can this board accommodate dietary preferences?
Yes, using vegetarian-friendly treats works well, and gluten-free options can be substituted to suit different diets.
- → What garnishes add a festive touch?
Edible flowers and fresh mint sprigs provide a bright, decorative accent to the dessert board.
- → How should the board be served?
Serve immediately or refrigerate and bring to room temperature about 20 minutes before serving for optimal flavor.