 Save
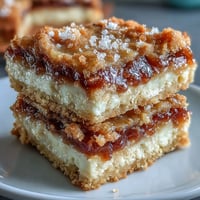
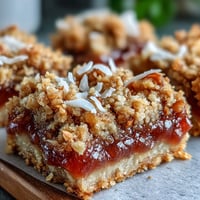
Save Penuche fudge sneaked into my life on a gray November afternoon when my grandmother pulled a square from a tin she'd kept hidden in her freezer. The moment it dissolved on my tongue, I understood why she guarded it so carefully—that deep brown sugar richness, almost like caramel had been trapped in chocolate form, tasted like a memory I didn't even have. Years later, I finally asked for her method, and what she revealed was surprisingly straightforward: just sugars, milk, butter, and the patience to let heat and time do the actual magic. Now I make it whenever I need to remember why simple things often taste the best.
I made this for a bake sale fundraiser last spring and watched someone take a bite, pause, and then buy four more squares without saying a word. That's when I realized penuche fudge speaks for itself—it doesn't need frosting or decoration or an explanation, just a moment on someone's tongue.
Ingredients
- Light brown sugar (2 cups, packed): This is your foundation, the reason the fudge tastes like caramel and not just sweet. Pack it firmly into your measuring cup so you get the full flavor.
- Granulated sugar (1 cup): Works alongside the brown sugar to achieve the right texture when cooked to soft-ball stage.
- Whole milk (3/4 cup): Creates a creamy base, and whole milk makes a visible difference compared to lower-fat versions.
- Unsalted butter (1/2 cup, cut into cubes): Cutting it into pieces helps it melt evenly and prevents any scorched spots on the pan bottom.
- Fine sea salt (1/4 tsp): A tiny amount that somehow makes the brown sugar flavor sing without tasting salty.
- Pure vanilla extract (1 1/2 tsp): Use the real thing here, not imitation, because you can actually taste the difference when everything else is so simple.
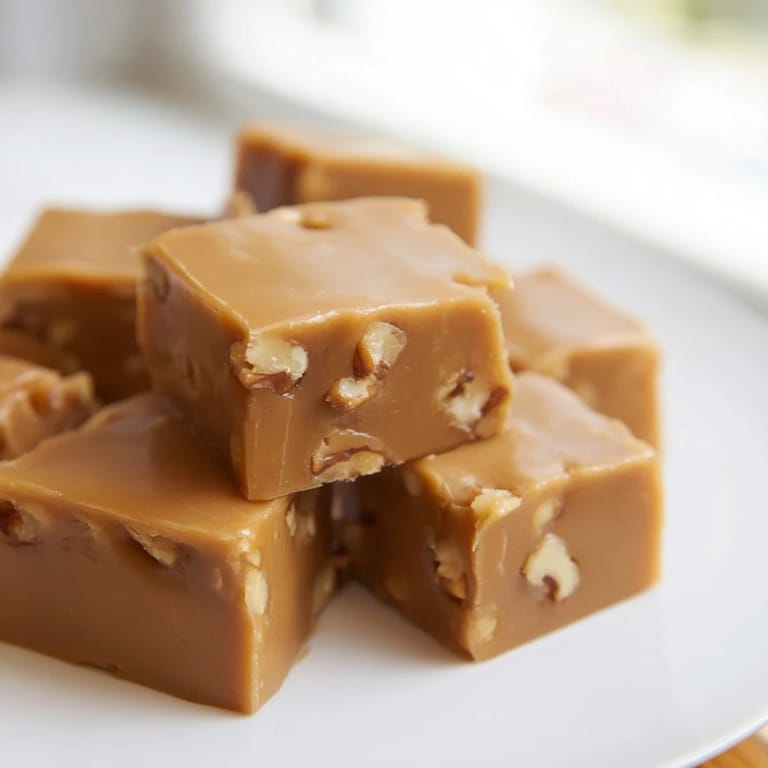
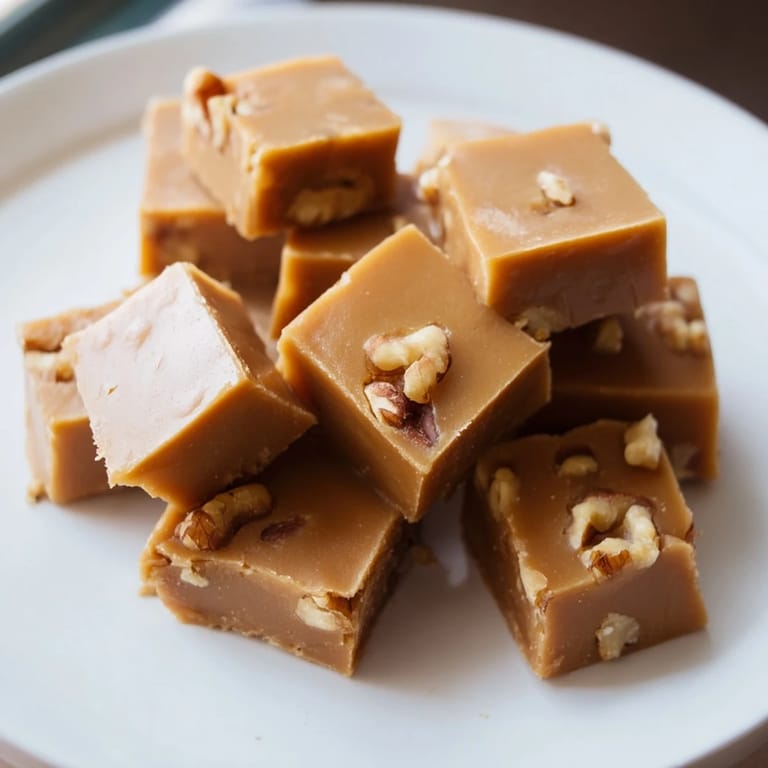
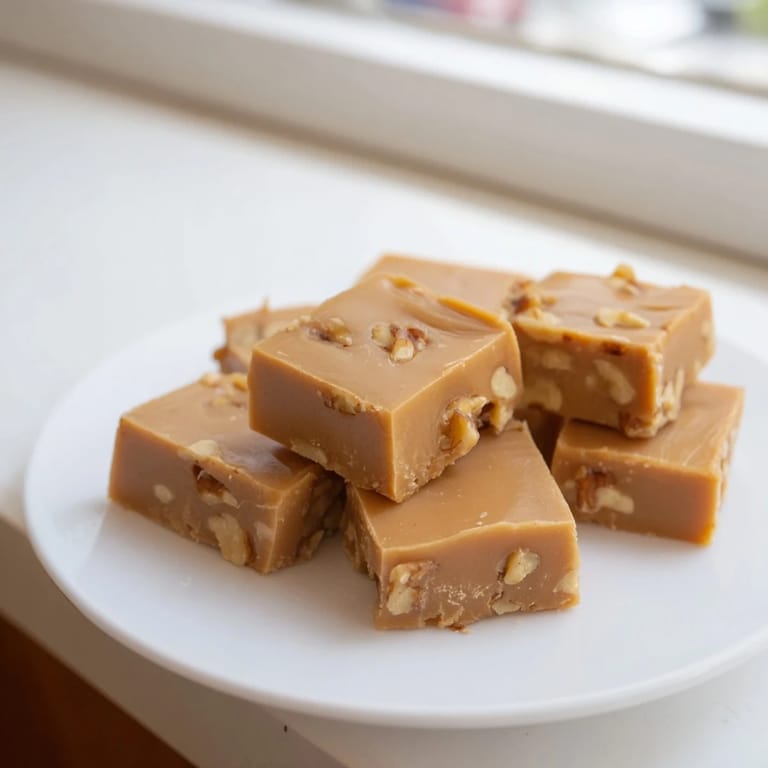
- Pecans or walnuts (1 cup, chopped, optional): They add texture and a subtle earthiness that deepens the overall flavor, but the fudge is divine either way.
Tired of Takeout? 🥡
Get 10 meals you can make faster than delivery arrives. Seriously.
One email. No spam. Unsubscribe anytime.
Instructions
- Prepare your pan:
- Line your 8-inch square baking pan with parchment paper so it overhangs the sides by a couple of inches, making it easy to lift the finished fudge out later. Lightly butter the paper so the fudge won't stick.
- Combine and heat:
- In a medium, heavy-bottomed saucepan, mix together brown sugar, granulated sugar, milk, butter, and salt. Set it over medium heat and stir gently just until the sugars dissolve and the mixture starts to bubble—you'll see it transform from grainy to silky.
- Cook to soft-ball stage:
- Attach your candy thermometer and watch the temperature climb to 238°F, which should take about 10–12 minutes. Don't stir once you've stopped dissolving the sugar, or you'll encourage crystals to form and the texture will turn grainy instead of smooth.
- Cool and rest:
- Pull the saucepan off the heat and let it sit undisturbed for 10 minutes while it cools slightly and begins to thicken. Resist the urge to peek or stir—this rest is when the fudge's texture is actually being decided.
- Beat until it transforms:
- Stir in the vanilla extract, then beat the mixture with a wooden spoon or electric mixer on low speed for 5–8 minutes until it thickens, loses its glossy shine, and starts to hold its shape. You'll feel when it's right—the resistance in your spoon changes.
- Add nuts if using:
- Gently fold in your chopped pecans or walnuts while the fudge is still workable and warm.
- Set in the pan:
- Pour the fudge into your prepared pan and smooth the top with a spatula. Work quickly here because the fudge starts to set as it cools.
- Let it firm up:
- Leave it at room temperature for at least an hour, though overnight is even better if you have the patience.
- Cut into squares:
- Use the parchment overhang to lift the entire block from the pan, then cut it into 1-inch squares with a sharp knife, wiping the blade between cuts for clean edges.
 Save
Save The moment when penuche fudge stopped being a recipe and became part of my kitchen traditions was when my nephew asked if we could make it together on his birthday. We stood at the stove, thermometer in hand, and I realized I was passing forward something that felt bigger than just candy—it was the kind of food that creates small, ordinary moments that somehow stick with you.
Storage and Shelf Life
Keep your finished fudge in an airtight container at room temperature, and it will stay fresh and creamy for up to a week. I've found that separating layers with parchment paper prevents sticking and makes it easier to grab pieces without disturbing the rest. If you want it to last longer, refrigeration extends the life to about two weeks, though cold fudge has a slightly firmer texture that some people actually prefer.
Flavor Variations
The beauty of penuche is how it accepts subtle additions without losing its essential character. A pinch of cinnamon stirred in during the beating phase adds a warm spice note, while a dash of maple extract deepens the brown sugar flavor into something almost autumnal. Some people swear by a tiny amount of espresso powder to amplify the richness, and I once tried sea salt sprinkled on top before it fully set, which created an unexpectedly sophisticated contrast.
Troubleshooting and Success Tips
Penuche fudge is forgiving once you understand what's actually happening during each step. If your finished fudge turns out too soft and won't hold its shape, you likely didn't cook it quite hot enough—aim for exactly 238°F next time and use a reliable thermometer. If it comes out grainy, you probably stirred after the mixture reached a boil, which is the most common mistake and exactly what my first batch experienced before I learned better.
- Use a heavy-bottomed saucepan so heat distributes evenly and nothing scorches on the pan bottom.
- Don't rush the beating phase—it transforms from glossy to matte as billions of tiny crystals form, and that's what gives you the smooth, melt-on-your-tongue texture.
- If you're making this on a humid day, add just a tiny pinch of cornstarch to the mixture before beating, which helps prevent stickiness.
 Save
Save There's something quietly perfect about penuche fudge, the way it tastes like pure comfort in a simple square. Make it once and you'll understand why it's remained a beloved American classic for generations.
Questions & Answers
- → What gives penuche its caramel flavor?
The caramel-like flavor comes from using packed brown sugar combined with a gentle cooking process that melts and blends the sugars with butter and milk, creating a rich, buttery caramel taste.
- → How do I know when the mixture reaches the right stage?
Cooking to the soft-ball stage at 238°F (114°C) is key. At this point, the mixture will form a soft, flexible ball in cold water, indicating proper sugar concentration.
- → Can nuts be omitted or substituted?
Yes, nuts are optional. You can omit them for a simpler texture or replace pecans and walnuts with your preferred crunchy additions.
- → How should penuche be stored for freshness?
Store penuche in an airtight container at room temperature. It stays fresh and soft for up to one week.
- → What tools are essential for making penuche smooth?
A candy thermometer ensures accurate temperature during cooking. Using a wooden spoon or electric mixer helps beat the mixture to a creamy, glossy consistency.
- → Can I add extra flavors to penuche?
Yes, adding a pinch of cinnamon or a dash of maple extract can enhance and personalize the confection’s flavor.