 Save
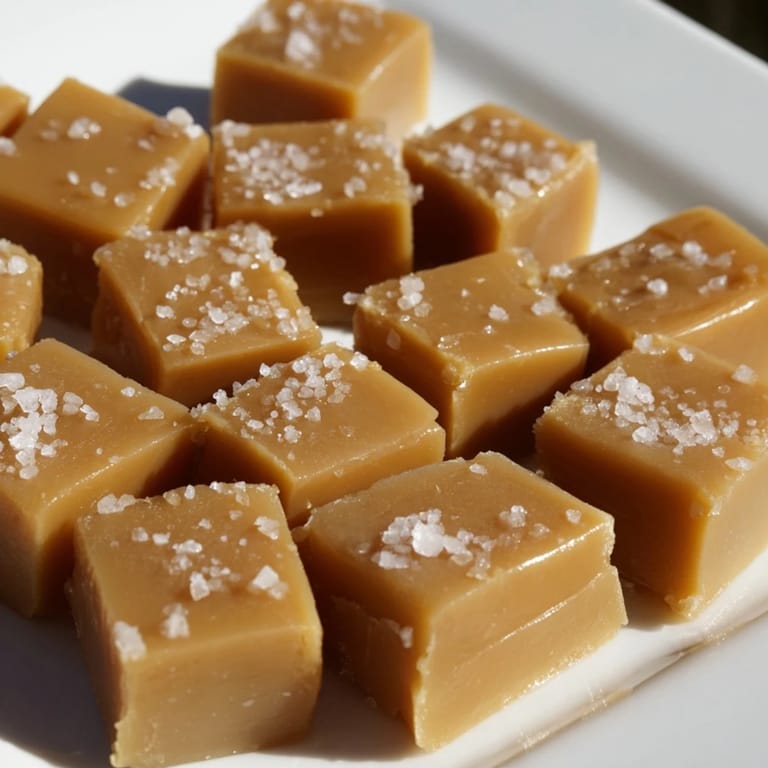
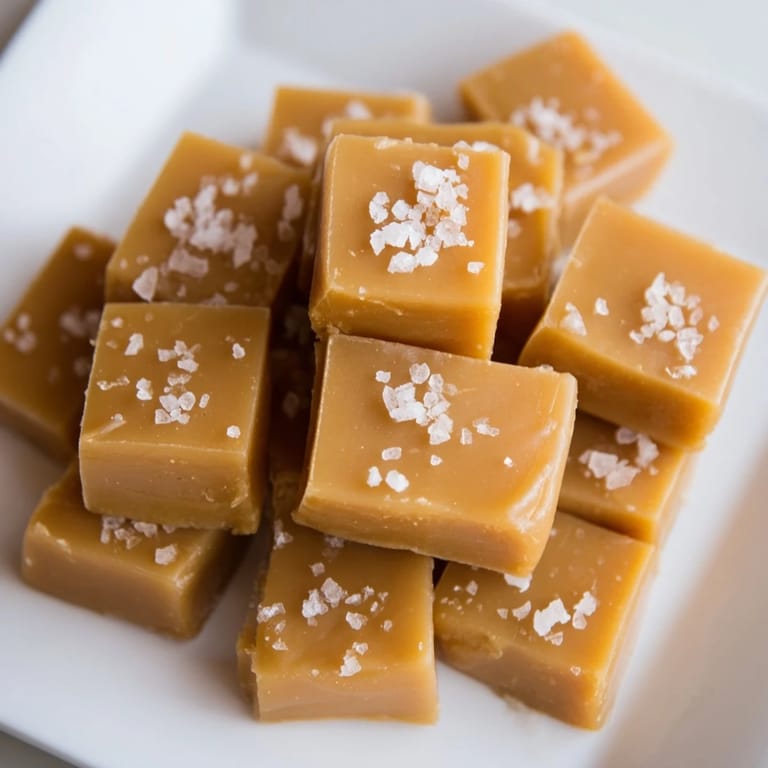
Save There's something almost magical about watching sugar transform into caramel—that exact moment when it shifts from pale gold to amber and suddenly smells like pure promise. I discovered sea salt caramels by accident, really, when a friend brought a tin back from a farmers market and I became immediately obsessed with figuring out how to make them at home. The first batch was a disaster (I panicked and pulled them off heat too early), but something about that initial failure made me determined to master the technique. Now, whenever I make these, I'm transported back to that chaotic afternoon in my kitchen, thermometer in one hand and a wooden spoon in the other, learning to trust the process and the science. These caramels have since become my go-to gift, the kind people actually ask me to make again.
I'll never forget making a batch for my neighbor who'd been bringing us vegetables from her garden all summer—she took one bite and literally closed her eyes. That single reaction made all the failed batches and sticky fingers completely worth it, and now she expects a tin every Christmas. It's funny how a small candy can become a little love language between neighbors, a way of saying thank you that tastes infinitely better than words.
Ingredients
- Heavy cream: This is your softness secret—it creates that luxurious melt-on-your-tongue texture, so don't skip it or substitute with milk.
- Unsalted butter: Cut it into pieces so it melts evenly and incorporates smoothly into the hot caramel without any grainy bits.
- Granulated sugar: The foundation of everything; measure carefully because even a little extra changes the final texture.
- Light corn syrup: It prevents crystallization, which means no grainy, disappointing caramels—trust this ingredient even if you're skeptical.
- Water: Just enough to get the sugar dissolving; it cooks off but makes the process much smoother.
- Pure vanilla extract: Adds a subtle warmth that makes people wonder what your secret ingredient is.
- Fine sea salt: Mixed into the caramel itself, this seasons from within and prevents the top-layer salt from being the only salty note.
- Flaky sea salt: Maldon or similar brands work best—they have that delicate crunch that regular table salt can't provide.
Tired of Takeout? 🥡
Get 10 meals you can make faster than delivery arrives. Seriously.
One email. No spam. Unsubscribe anytime.
Instructions
- Prepare your stage:
- Line your pan with parchment, letting it overhang on two sides so you can lift everything out easily later. Butter that parchment lightly or the caramels will stick like they're glued down, and you'll spend twenty minutes cursing under your breath.
- Warm the cream and butter:
- Heat them together gently until the butter melts and steam rises, then step away—you want hot but not boiling, or you'll end up with broken cream instead of silky richness. Set it aside and let it stay warm while you work on the sugar.
- Start the caramel base:
- Combine sugar, corn syrup, and water in your heavy saucepan and stir gently just until it looks like wet sand. Once you turn up the heat, you become a watcher, not a stirrer—no touching, just observation as the sugar grains dissolve and disappear.
- Cook to the light golden stage:
- Increase heat to medium-high and watch it bubble and shift color, checking your thermometer when it starts looking pale golden. You're aiming for 320°F (160°C)—this is the caramel stage where the sugar has begun to break down but isn't dark or burnt.
- The brave pour:
- This is the moment that looks scary but is actually fine—carefully pour the warm cream mixture into the hot caramel and it will absolutely bubble and hiss like it's angry, but that's exactly right. Stir constantly now, keeping the thermometer in the mixture, until it reaches 245°F (118°C) for soft caramels or up to 250°F (121°C) if you prefer them firmer.
- Final flavoring:
- Pull it from heat and stir in vanilla and fine sea salt, breathing in that incredible aroma for a moment before you move on. This is the moment it stops being a sugar project and becomes actual caramel.
- Pour and season:
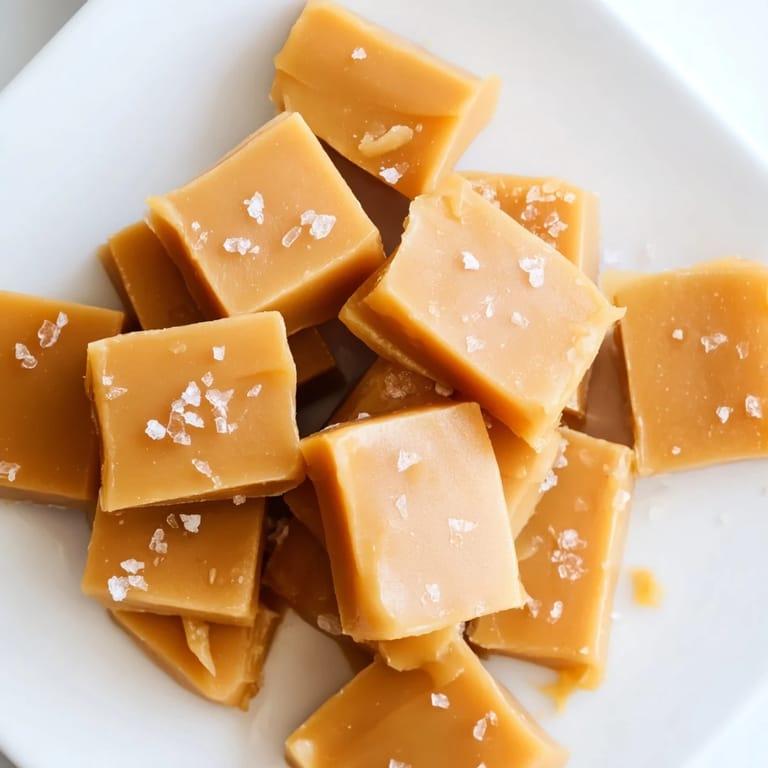
- Immediately pour into your prepared pan and let it sit for five minutes so it can start setting slightly. Then sprinkle flaky sea salt across the top in an even layer—you want enough to taste in every bite but not so much it becomes a salt crystal candy.
- Cool completely:
- Leave it alone for about two hours at room temperature—this is hard because it will smell unbelievable, but rushing this step means soft, impossible-to-cut caramel. You'll know it's ready when it feels firm but still gives slightly when you press it.
- Cut and wrap:
- Use a sharp knife dipped in hot water and wiped clean between cuts to slice into one-inch squares. The hot knife prevents sticking and dragging, which is the difference between neat pieces and a frustrating mess.
 Save
Save The best moment was handing a box of these to my sister during a stressful week, watching her face soften just from the smell of them, and realizing that sometimes the most meaningful gifts come in small, candy-sized packages. That's when I understood these aren't just treats—they're little edible moments of care.
The Flavor Layer You're Missing
Brown butter before you add it to the cream, and suddenly the caramels taste like a more complex, almost nutty version of themselves—it's a single extra step that feels indulgent in the best way. I learned this from a mistake when I was distracted and let the butter brown while warming, and instead of tossing it, I committed to the flavor accident. Now it's my secret version, the one I make when I want to impress someone or feel fancy on a Tuesday afternoon.
Wrapping as Part of the Gift
Wax paper or cellophane isn't just functional—it's part of the experience because wrapped caramels feel precious and intentional, like you've turned homemade candy into a real present. Store them in an airtight container at room temperature and they'll last up to two weeks, though honestly, I've never seen a batch make it past day three.
When You Want to Go Further
Once you've mastered the base caramel, the possibilities multiply in delicious directions—dipping them in dark chocolate transforms them into something almost decadent, or you can infuse the cream with different flavors like espresso or lavender. These little squares are honestly the perfect canvas for experimentation, and every batch teaches you something new about the balance of temperature, timing, and trust.
- Dark chocolate dipping adds sophistication and lets you show off a little without much extra effort.
- Try steeping lavender or earl grey in the cream before warming it for a floral twist that feels unexpectedly grown-up.
- A tiny pinch of cayenne pepper mixed with the sea salt creates an intriguing sweet-spicy note that people can't quite identify but absolutely love.
 Save
Save These caramels taught me that some of the most rewarding things in a kitchen are the ones that seem intimidating at first but become almost meditative once you trust the process. Make them for someone you love, or keep them all for yourself on a quiet afternoon.
Questions & Answers
- → What is the best way to achieve soft texture?
Cook the caramel mixture to around 245°F (118°C) and avoid overcooking to maintain softness and chewiness.
- → How does flaky sea salt enhance the flavor?
It adds a crisp, delicate salty contrast that highlights the buttery sweetness and balances the caramel's richness.
- → Can I use brown butter for deeper flavor?
Yes, browning the butter before mixing enriches the flavor with nutty, toasted notes.
- → What cooling method is recommended?
Let the caramel cool at room temperature for about 2 hours until firm enough to cut cleanly.
- → How should these confections be stored?
Store in an airtight container at room temperature for up to two weeks to maintain freshness and texture.