 Save
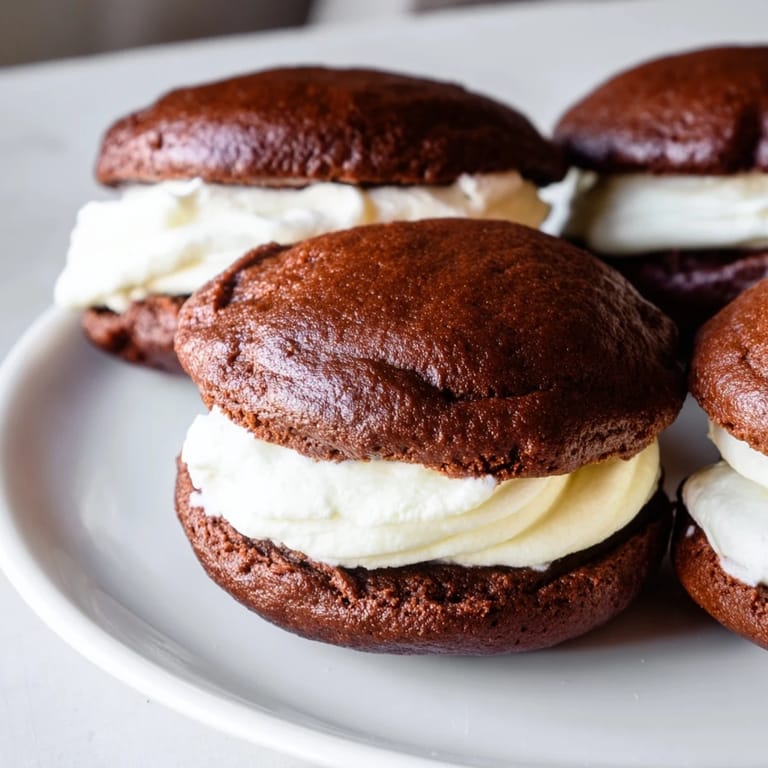
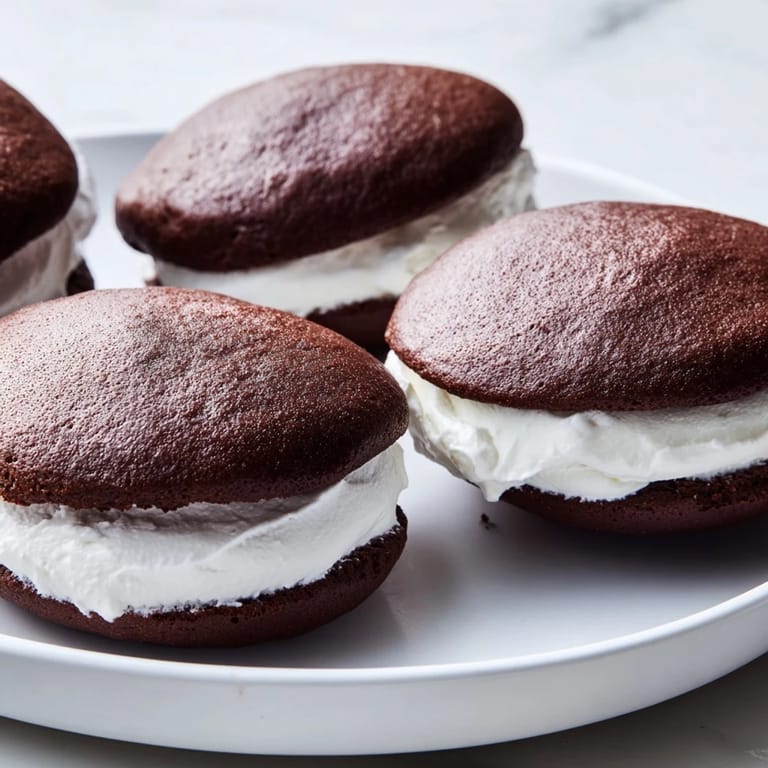
Save I discovered whoopie pies on a crisp autumn afternoon at a farmer's market in Lancaster, watching an elderly woman arrange them in neat rows in a wicker basket. She caught me staring and smiled, handing me one to taste, and that single bite—the soft chocolate cake giving way to that marshmallow-cream sweetness—became the moment I needed to learn how to make them. There's something about these Pennsylvania Dutch treasures that feels like edible nostalgia, even when you're making them for the first time.
My first batch came out slightly too cake-like and I panicked, thinking I'd ruined everything, but my neighbor tasted one and said they reminded her of being seven years old at a church potluck. That's when I realized these aren't about perfection—they're about that specific sweetness that makes people remember being happy.
Ingredients
- All-purpose flour (2 cups / 250 g): This is your structure; it needs to be fresh and aerated, so if your bag has been sitting open, sift it twice to get air back in.
- Unsweetened cocoa powder (¾ cup / 75 g): Don't grab the sweetened stuff by accident—this is where your chocolate depth comes from, and quality matters.
- Baking soda (1½ teaspoons) and baking powder (½ teaspoon): The soda reacts with the buttermilk to give that tender crumb; they work as a team.
- Salt (½ teaspoon): This small amount amplifies the chocolate and keeps sweetness from becoming cloying.
- Granulated sugar (1 cup / 200 g): The foundation of your cake's moisture and browning.
- Unsalted butter, softened (½ cup / 110 g): Room temperature is non-negotiable here—cold butter won't cream properly with the oil.
- Vegetable oil (½ cup / 120 ml): This combination of butter and oil keeps the cakes impossibly tender; pure butter would make them denser.
- Large eggs (2): Room temperature eggs blend more smoothly into your batter, creating better texture.
- Buttermilk (1 cup / 240 ml): The acidity here is the secret to flavor and that slightly tangy sophistication.
- Vanilla extract (2 teaspoons for cakes, 1 teaspoon for filling): Pure vanilla makes a noticeable difference in these, so it's worth having the good stuff.
- Unsalted butter for filling (¾ cup / 170 g): Softened means it should feel like butter when you poke it, not hard or greasy.
- Powdered sugar, sifted (2 cups / 240 g): Sifting removes lumps and prevents your filling from becoming grainy or dense.
- Marshmallow creme (about 7 oz / 200 g): This is the signature ingredient that makes whoopie pies sing—it gives that cloud-like lightness.
Tired of Takeout? 🥡
Get 10 meals you can make faster than delivery arrives. Seriously.
One email. No spam. Unsubscribe anytime.
Instructions
- Prepare your workspace:
- Preheat your oven to 350°F (175°C) and line two baking sheets with parchment paper. This prevents sticking and gives you an even surface for uniform baking.
- Build your dry mix:
- Whisk together flour, cocoa powder, baking soda, baking powder, and salt in a medium bowl. You're distributing the leavening agents evenly so every cake bite rises perfectly.
- Cream the base:
- In a large bowl, beat sugar, softened butter, and oil until the mixture is light, fluffy, and noticeably pale—this takes about 3 minutes. This step is where you trap air that makes the cakes tender instead of dense.
- Incorporate eggs:
- Add eggs one at a time, beating well after each addition. This emulsifies everything and prevents a curdled-looking batter.
- Add vanilla:
- Mix in vanilla extract until fully combined.
- Alternate wet and dry:
- Add the flour mixture and buttermilk in alternating additions, starting and ending with the flour—three flour additions, two buttermilk. Mix just until combined; overmixing toughens the cake.
- Portion the batter:
- Drop 2-tablespoon-sized mounds onto prepared sheets, spacing them 2 inches apart. They'll spread slightly as they bake, so don't crowd them.
- Bake:
- Bake for 10–12 minutes, until the cakes spring back when you lightly touch the center. They should look set but still tender, not overdone.
- Cool strategically:
- Let them rest on the baking sheet for 5 minutes to set, then transfer to a cooling rack. This prevents the bottoms from getting soggy.
- Make the filling:
- Beat softened butter until smooth and creamy, then gradually add sifted powdered sugar. Gradually mix in marshmallow creme, vanilla, and salt, beating until fluffy and light.
- Assemble:
- Spread or pipe filling onto the flat side of half the cakes, then top with remaining cakes to create sandwiches. The weight naturally presses them together.
- Final chill:
- Refrigerate for 30 minutes before serving to set the filling and create that perfect texture contrast between soft cake and firm filling.
 Save
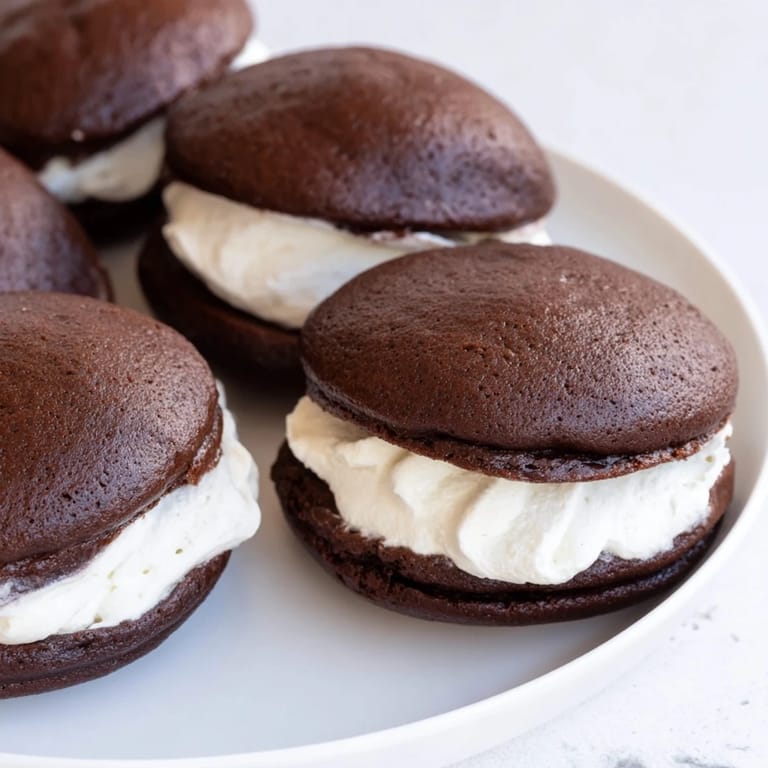
Save These whoopie pies taught me that sometimes the most meaningful desserts are the ones that don't need a complicated technique or a long list of exotic ingredients. They're just chocolate, cream, and time—and somehow that simplicity is exactly what makes people love them.
The Secret to Perfect Texture
The contrast between the soft, tender cake and the fluffy marshmallow filling is what makes whoopie pies special. This contrast comes from baking just until the cakes spring back—not a minute longer—because overbaked cakes become dry and the filling can't save them. I learned this the hard way when I got distracted and let a batch go an extra two minutes; the difference was noticeable and not in a good way. The filling's fluffiness comes from beating in enough air, which is why you can't rush that step.
Customizing Your Whoopie Pies
Once you've mastered the basic chocolate cakes and vanilla filling, you can start playing around. I've added a teaspoon of espresso powder to the cake batter when I wanted something deeper, and I've experimented with different filling flavors by adding cocoa powder, peanut butter, or peppermint extract to the frosting. The structure stays the same, but the personality changes completely.
Storage and Serving Tips
Whoopie pies keep beautifully in an airtight container at room temperature for up to three days, which is perfect for making a batch ahead of time. I've found that they actually taste better after sitting overnight, as the flavors meld and the filling sets completely. If you want to get ahead, you can bake the cakes days in advance and freeze them, then assemble with fresh filling closer to serving time.
- Room temperature whoopie pies taste better than cold ones, so remove them from the fridge about 15 minutes before eating.
- If you want to use shortening instead of butter in the filling for a more classic Pennsylvania Dutch version, it works beautifully and lasts a bit longer in storage.
- These travel well for potlucks and gift-giving, which is probably why they were popular at church gatherings for generations.
 Save
Save These whoopie pies are one of those recipes that feels like a small tradition the moment you make them. They're soft, they're sweet, and they bring people together in the simplest, most delicious way.
Questions & Answers
- → What ingredients give the cakes their softness?
A combination of buttermilk, vegetable oil, butter, and eggs ensures a tender and moist chocolate cake texture.
- → How is the filling made fluffy and creamy?
Butter is creamed with powdered sugar and marshmallow fluff, then flavored with vanilla, creating a smooth and airy filling.
- → Can I enhance the chocolate flavor in the cake?
Adding a bit of espresso powder to the batter intensifies the chocolate taste without overpowering it.
- → What’s the best way to assemble the cake sandwiches?
Spread or pipe the creamy filling onto the flat side of half the cooled cakes, then sandwich them with the remaining cakes evenly.
- → How should these treats be stored?
Store in an airtight container at room temperature for up to three days to maintain freshness and texture.